I. Linux installation and preparation
First of all, it doesn’t really matter which Linux/Unix platform to choose, as SAP is compatible with many of them. It only depends on the efforts you have to put before actual SAP installation (ie Linux partitioning, additional software deployment, and configuration, host configuration, etc.). Taking this into consideration, I decided to use SUSE Linux Enterprise Server for SAP Applications. There are some pros and cons of using exactly this platform, because the updates for SUSE Linux aren’t free… but after all, the major benefit is that it’s ready for SAP installation right after deployment (doesn’t make sense whether you choose the Wizard or manual/expert installation option).
The installation image for SUSE Linux is available for free from their website (you just need to register).
So, let’s presume you have already created/prepared a virtual (or real) machine with 350 GB of free space (where 300 GB will be dedicated to IDES databases) and successfully installed SUSE Linux on it.
If you use a virtual machine (let’s say VMware), you need to mount the installation media on the Linux system. In this case study I consider installation on VMWare. To enable the ‘folder sharing’ option on VMware, you need to install VMware Tools for Linux. To do that, unmount the Linux installation media from the virtual CD drive and choose ‘VM -> Install VMware Tools’ from the VMware menu bar. The installation media with VMware Tools will be attached to the Linux system. You have to find and copy a file named ‘VMWareTools***.tar.gz’:
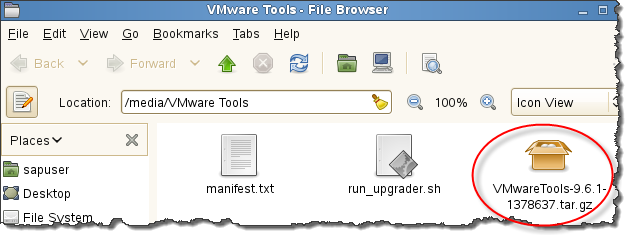
Copy it to any user folder and extract the contents of this archive:
tar -zxvf VMwareTools-<version>.tar.gz
Then, you can install it:
./vmware-install.pl
As soon as installation is done, you can use VMware folder sharing to mount the SAP installation media to the Linux system.
I presume you followed the SUSE Linux installation guide or wizard and have enough disk space to proceed with the installation. If you went through the installation procedure with the wizard, the SWAP size should be correct as well (it is calculated by the wizard automatically). So, let’s move on to SAP installation.
II. SAP Installation
- Go to your mounted media with the SAP installation files. Extract all the packages (if you didn’t do that earlier).
- Find ‘Installation master’ (package #51042263_8)
- From this package, executethe ‘sapinst’ file
./sapinst
- You will see familiar dialogue:
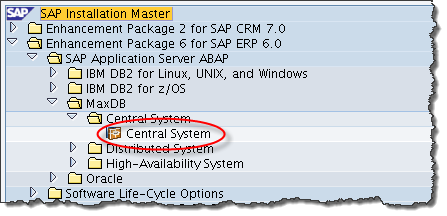
- I’ve chosen MaxDB option for the experience's sake, but you’re free to choose any DB you want or need (of course, if you have installation packages for it)
- On the next step, provide the path tothe DB installation package
- … and specify a system ID.
- Uncheck the FQDN option if you don’t have a DNS server up and running
- Enter DB SID:
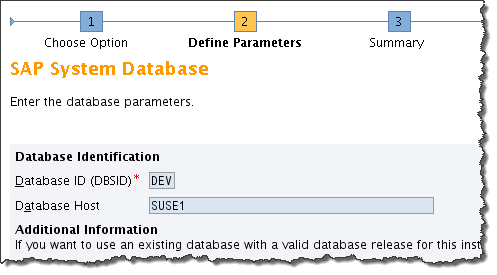
- Specify paths to installation exports 1 and 2:
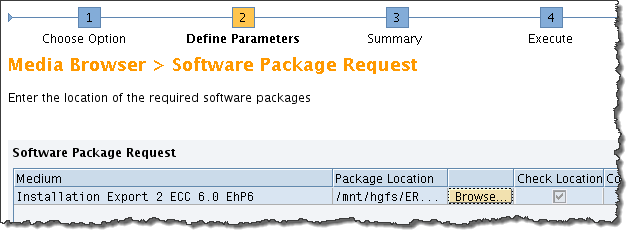
11. Now, you need to accommodate your DB files:
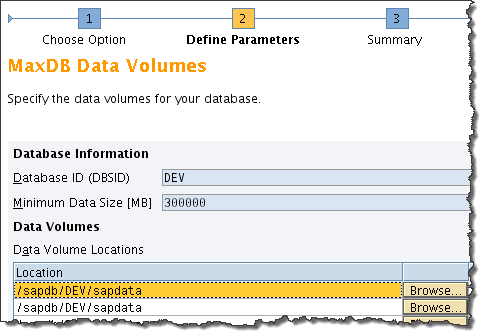
12. In Linux, I have mounted a separate partition (sapdb) for this purpose:

13. If you don’t have a ‘central SLD’ deployed, choose the ‘No SLD destination’ radio button on the next step
14. After checking the ‘summary’ page, you’re ready to go:
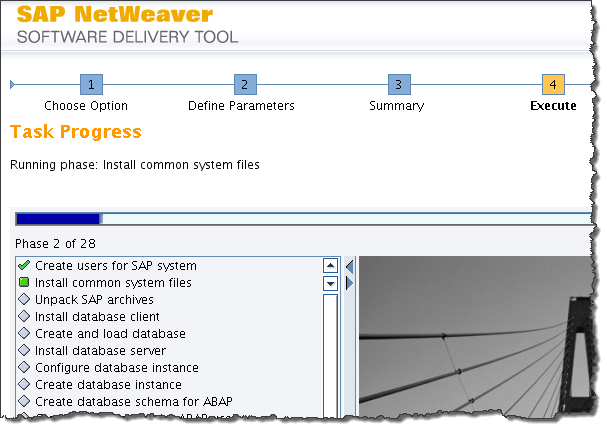
15. Now you can relax for at least 6 hours (depends on your server configuration), but… taking slow Java performance into consideration and the fact you’re installing IDES, it may last much longer (up to 24 hours).
III. SAP Post-installation activities
Ok, I guess your SAP system has been installed successfully and you’re ready to move on. The next step is configuration.
- The very first thing we need to do is to check if Java 6 is installed on your system. For this:
- a) Go to YAST -> ‘Software management’; b) Check there if Java-1_6_0_ibm is installed:

3. a) If so, check JAVA_HOME and PATH environment variables:
set |grep JAVA_HOME
set |grep ^PATH
b) If you can’t see the values, you have to set the values for these variables:
- export JAVA_HOME <path_to_your_JRE>
- export PATH <path_to_your_Java_bin>
4. Install SAP GIU. Get the installation package (#50120297_7) and run ‘PlatinGUI730Linux_4.jar’ form it:
Java –jar PlatinGUI730Linux_4.jar
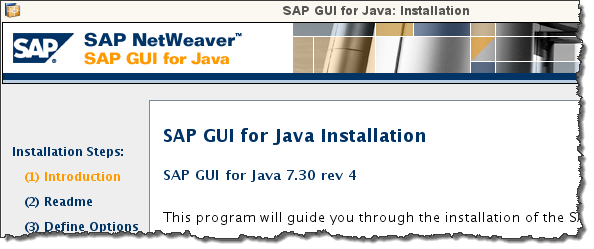
5. After successful installation, you will see a new icon in the ‘Application browser’:

(Computer -> More applications…)
6. The window seems familiar :)
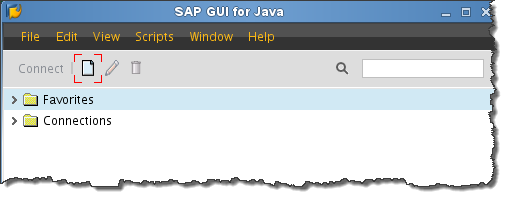
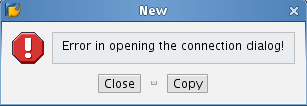
7. Unfortunately, there is a known bug that prevents you from creating a new connection right now (refer to SAP Note #1918326). So, if you press the ‘New’ button, you’ll see an error message like this:
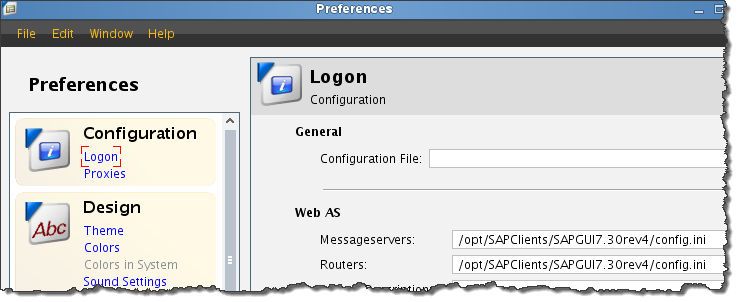
8. As SAP Note suggests, if you use a centrally managed configuration, then make sure an entry for the routers and message servers does exist and point to an existing file. The file can be empty, but the include statement must exist and point to a file, e.g. like this:
@ROUTER=http://< WEBSERVER>:<PORT>/<FOLDER>/empty_file.txt
@MESSAGESERVER=/<LOCAL>/<PATH>/empty_file.txt
So, first… create an empty file (I have created a file ‘config.ini’ in ‘/opt/SAPClients/SAPGUI7.30rev4/’)
Then, go to ‘File’ -> ‘Preferences’ and fill out ‘Message servers’ and ‘Routers’ with a path to the file as shown below:
9. Now, when you press ‘New’ – a dialogue ‘Create new connection’ will pop up:
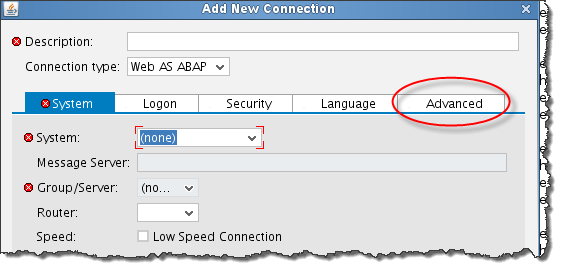
10. Go to the ‘Advanced’ tab, give a name for the connection and tick ‘Expert mode’:
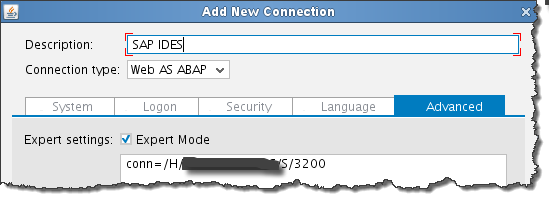
Fill the connection string in the format:
conn=/H/(IP_Address_server_SAP)/S/32(system_number)
conn=/H/192.168.1.255/S/3200 (for instance)
11. Now you can log in:
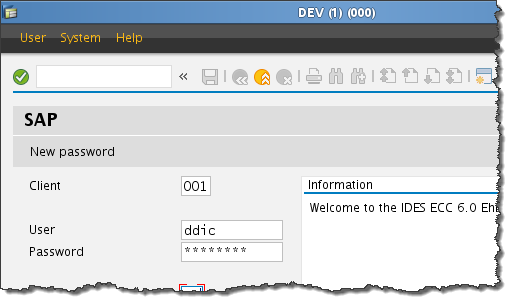
Hurray! It works!
Unfortunately, as soon as you log in (depending on circumstances), you may see an error message like this:
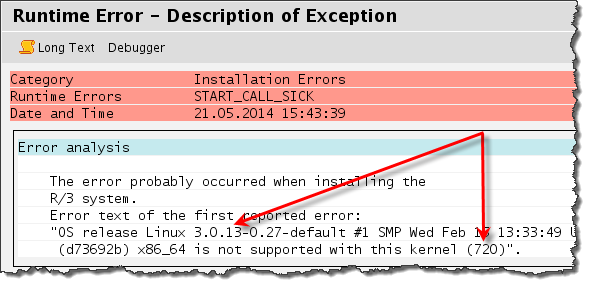
You shouldn’t worry about the installation itself, as there is nothing wrong with the data or something like that. It just means that your SAP kernel is outdated and doesn’t correspond to the newer Linux kernel release. The workaround suggested by SAP is to set SUSE Linux to the kernel compatibility mode (you have to use kernel ver. 2.6 instead of the installed 3.0) or… you can upgrade the kernel for SAP (the second option seems more reliable and I move on with it). For reference, please read SAP Notes 1310037 and 1629558.
The lowest compatible kernel update is 105 (for 720 release), and the most recent one is 600 (SAPEXE_600-20006741.SAR). Do not forget to download SAPEXEDB for your DB vendor. I use MaxDB, so I found it under MaxDB (SAPEXEDB_600-20006739.SAR)
Now, we need to copy just the newly downloaded kernel files into a separate folder on Linux and unpack them with ‘sapcar’ (it could be found in ‘/sapmnt/<SID>/exe’):
SAPCAR –xvf SAPEXE_600-20006741.SAR
(Do the same for SAPEXEDB* file).
- Stop the SAP system by using the command ‘stopsap’. To do that, log in as ‘<SID>adm’ user in the terminal and execute ‘stopsap’:
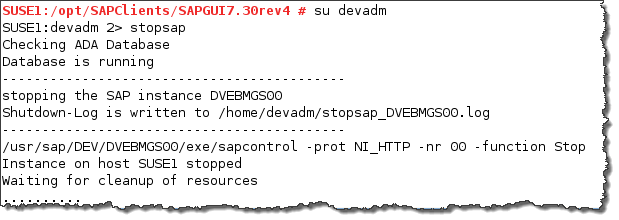
- If you use Oracle, you have to execute ‘saposcol -k’ right after the first command.
- Backup files from ‘/usr/sap/<SID>/DVE*/exe’ and ‘/sapmnt/<SID>/exe’
- Copy unpacked kernel files to ‘/usr/sap/<SID>/DVE*/exe’ and ‘/sapmnt/<SID>/exe’.
- Start the SAP system (use ‘startsap’ command)
- Now, it works like a charm!
Good luck!
Comments